Table of contents
JavaScript Map Project 1.0
Exploring the world of JavaScript mapping with Project I started in my last post. This is an edited version from my Obsidian notes on building interactive maps using popular libraries and APIs. In this post, I will describe my process and how I use the open-source Leaflet library to build a user-friendly map, complete with geolocation, standard pins, and search functionality. This post is part of the Learning JavaScript Series
1. Choose a Mapping Library/API:
There are several options available, but some of the most popular ones are:
Google Maps JavaScript API: Comprehensive and widely-used.
Leaflet: Open-source and works well with other map tile services.
Mapbox: Offers customizable maps and various features.
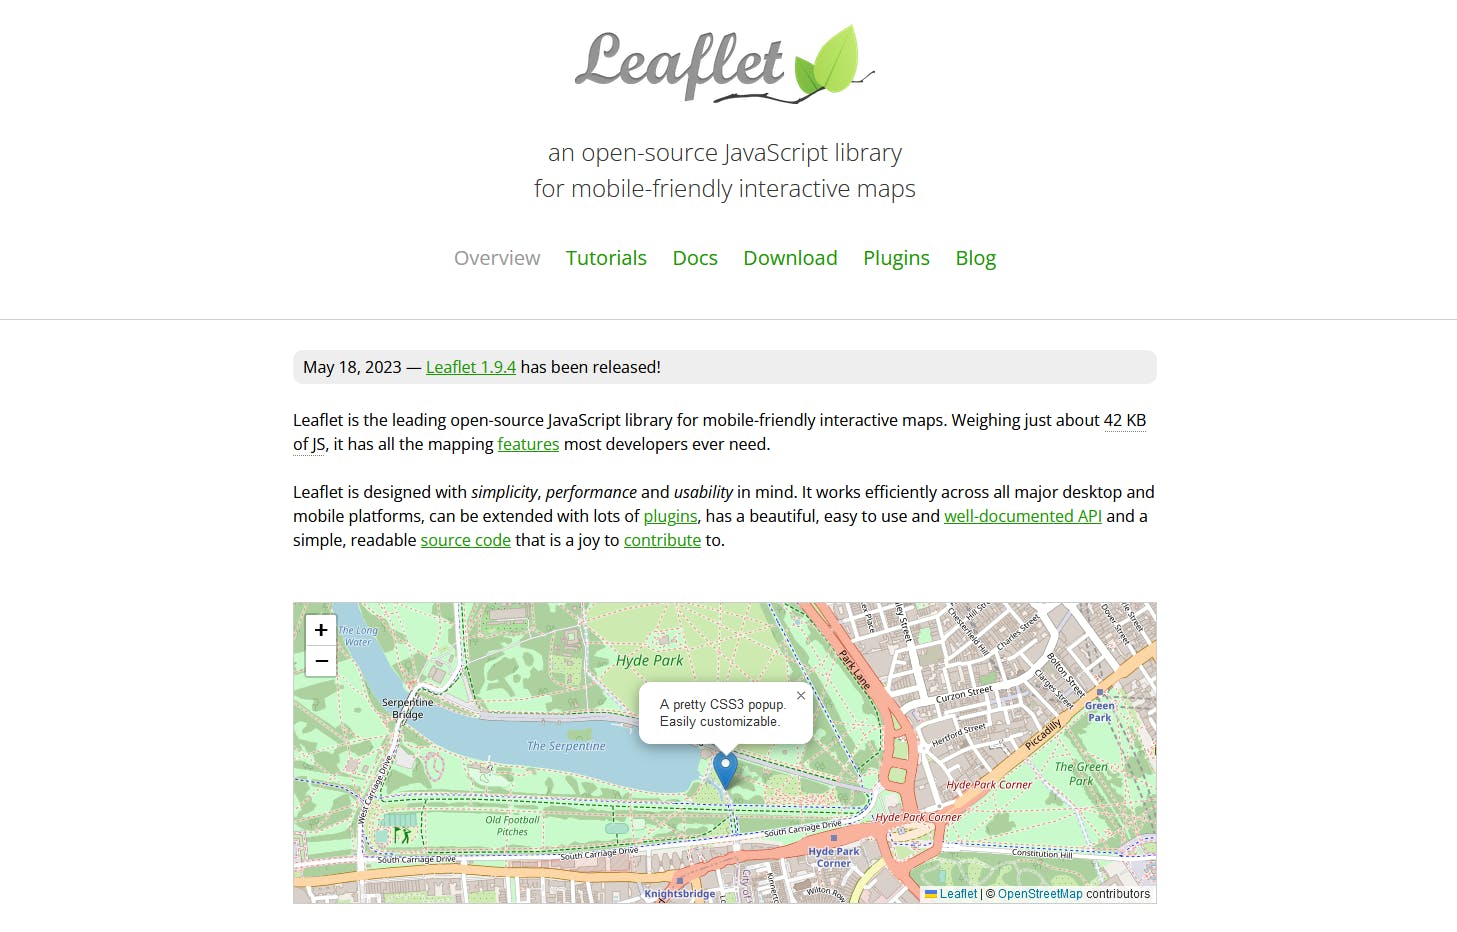
For this guide, I'll use Leaflet due to its ease of use and open-source nature. https://leafletjs.com/
This Open Source tool made by a Ukrainian developer is amazingly fun to build with. Great tutorials should get you started right off the bat. Go and support this project if you can.
2. Setting up the Project:
Started by setting up a basic HTML, and JavaScript project and added the needed links to Leafletjs as the docs tell you. CSS will be added later on the series.
3. Implementing the Map:
a. HTML (index.html):
<!DOCTYPE html>
<html lang="en">
<head>
    <!-- ... -->
    <link rel="stylesheet" href="https://unpkg.com/leaflet@1.7.1/dist/leaflet.css" />
</head>
<body>
    <div id="map" style="height: 500px;"></div>
    <!-- Add your input fields here -->

    <script src="https://unpkg.com/leaflet@1.7.1/dist/leaflet.js"></script>
    <script src="app.js"></script>
</body>
</html>
b. JavaScript (app.js):
// Initialize the map
const map = L.map('map').setView([51.505, -0.09], 13);  // Setting initial location to London

// Set the map tiles source
L.tileLayer('https://{s}.tile.openstreetmap.org/{z}/{x}/{y}.png', {
    attribution: '© OpenStreetMap contributors'
}).addTo(map);
4. Adding Pins Based on User Input:
a. HTML:
Add the necessary input fields and a button. You can find all these from the tutorials and documentation.
<input type="text" id="address" placeholder="Enter address" />
<input type="text" id="info" placeholder="Additional Info" />
<button onclick="addPin()">Add Pin</button>
b. JavaScript:
Using a geocoding service to convert the address into latitude and longitude. One option is Nominatim by OpenStreetMap. Read the documentation though. The API is free to use but you cannot bombard it with queries. According to the documentation, it is one query per second, which suits my usecase how the app will be used. But again the decision to support Open Source projects by using them is easy. Documentation was not great but with a little help from ChatGPT we got the query working
function addPin() {
    const address = document.getElementById('address').value;
    const info = document.getElementById('info').value;

    // Use a geocoding service to convert address to lat/lng
    fetch(`https://nominatim.openstreetmap.org/search?format=json&q=${address}`)
        .then(response => response.json())
        .then(data => {
            if (data.length > 0) {
                const lat = data[0].lat;
                const lon = data[0].lon;

                // Add a pin to the map
                const marker = L.marker([lat, lon]).addTo(map);
                marker.bindPopup(info).openPopup();
            } else {
                alert('Address not found!');
            }
        });
}
After all that I ran the VSCode live server extension and I was greeted with this.

The Pin Dropping tool was already functioning but I already came to a conclusion that a lot needs to be fixed for the next version. Below are some immediate fixes which will start tackling one or a few at a time. More on these in the future posts. So MVP was ready and functioning and in Github.
5. Immediate Enhancements and Additional Features in no particular order:
Geolocation: Use the browser's Geolocation API to get the user's current location and center the map on it.
Larger map, currently set at 500px in the html.
Storage: Save the added pins in local storage or a backend database to persist them (this is more advanced and will be one of the last additions).
Search and Filter: Allow users to search and filter through the pins.
Custom Pins: Allow users to customize the pin's color or icon.
Add another input field and make it add filterable info to the pin
Delete pins
Conclusion:
In conclusion, creating interactive maps using JavaScript and the Leaflet library is a rewarding and educational experience. By following the steps outlined in this article, you can build a user-friendly map MVP with geolocation and pins. As you gain more experience, you can explore additional features and enhancements to make your mapping project even more powerful and useful. As for this project, there will be more posts about it as I keep building it. So follow me for updates and if you want I send newsletters out each new post is published. That you can subscribe to below this post.
Thanks for reading!
